
Today I’m reviewing the Astrolux MF01S, which boasts 15,000 lumens and 616m throw (95,000 cd).
You can buy the Astrolux MF01S at Banggood (without cells, affiliate link). They also sell the MF01S with cells.
As of Oct 2021, there’s a 23% discount code BGASFT01S


This is an updated version of the original MF01, which took 4 18650 cells in a cell carrier and hit 12000 lumens using a custom UI. The updated MF01S is rated 3000 lumens higher and the cells go in directly.
Astrolux is Banggood’s brand for flashlights. Their flashlights are primarily manufactured by Mateminco (the MF01S is the same as the Mateminco MT18S) but they’ve used other manufacturers in the past. Astrolux is well known in the flashlight world, having a good balance of budget and quality.
Astrolux has a wide range of flashlights, from small lights like the tiny Astrolux A02 that I reviewed for 1lumen to LEP white laser flashlights like the Astrolux WP2.
They also have their “MF” range of lights, which are some of the most powerful and furthest throwing flashlights available, like the MF05.
I’m reviewing the 4000K SST20 LED version of the MF01S. This LED is marginally less bright but has a much nicer tint.
I picked the light blue colour version but it also comes in sand, black, silver and purple. The MF01S came with a manual and lanyard. It also came with a spare switch and 2 spare O-rings but strangely these were for a different light.
Astrolux MF01S Specs
| Brand / Model | Astrolux |
| LED | 18 x SST20 |
| Lumens | 15,000 Lumens |
| Throw | 616m throw (95,000 cd |
| Cells | 4 x 18650 |
Size and everyday use
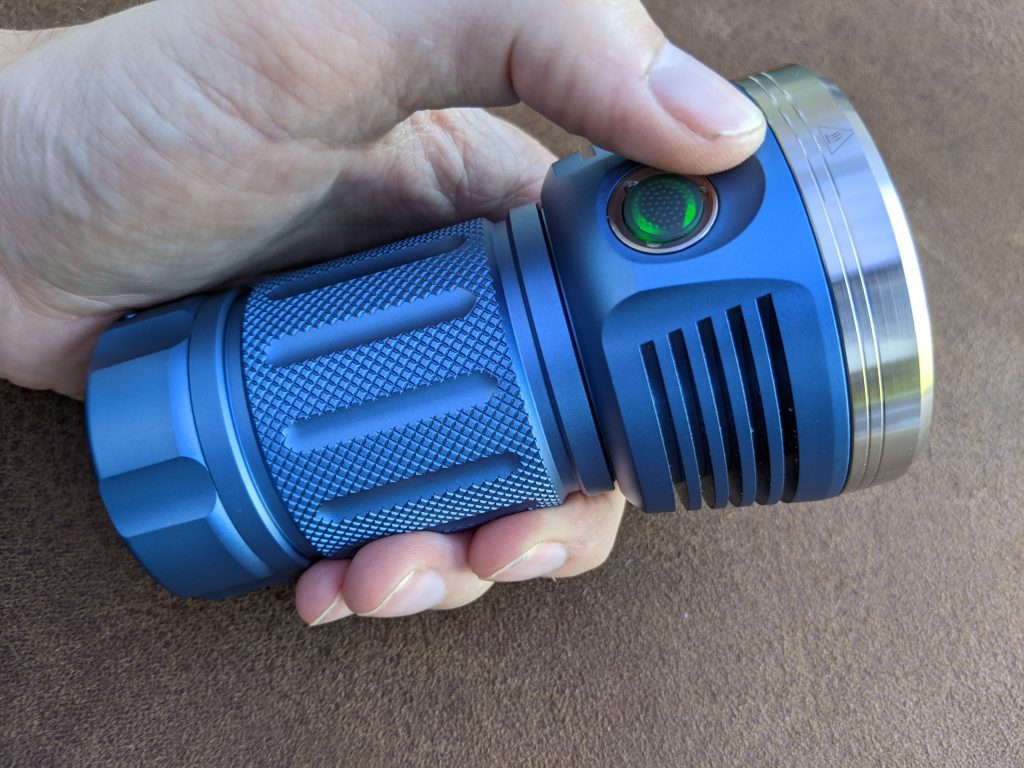
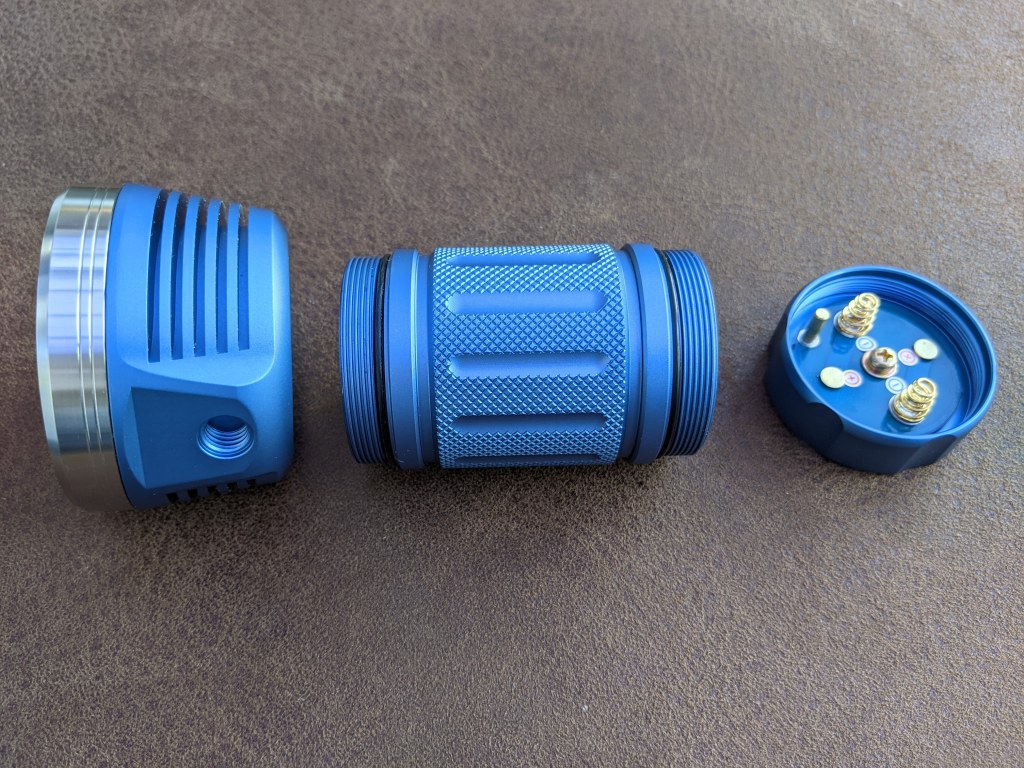
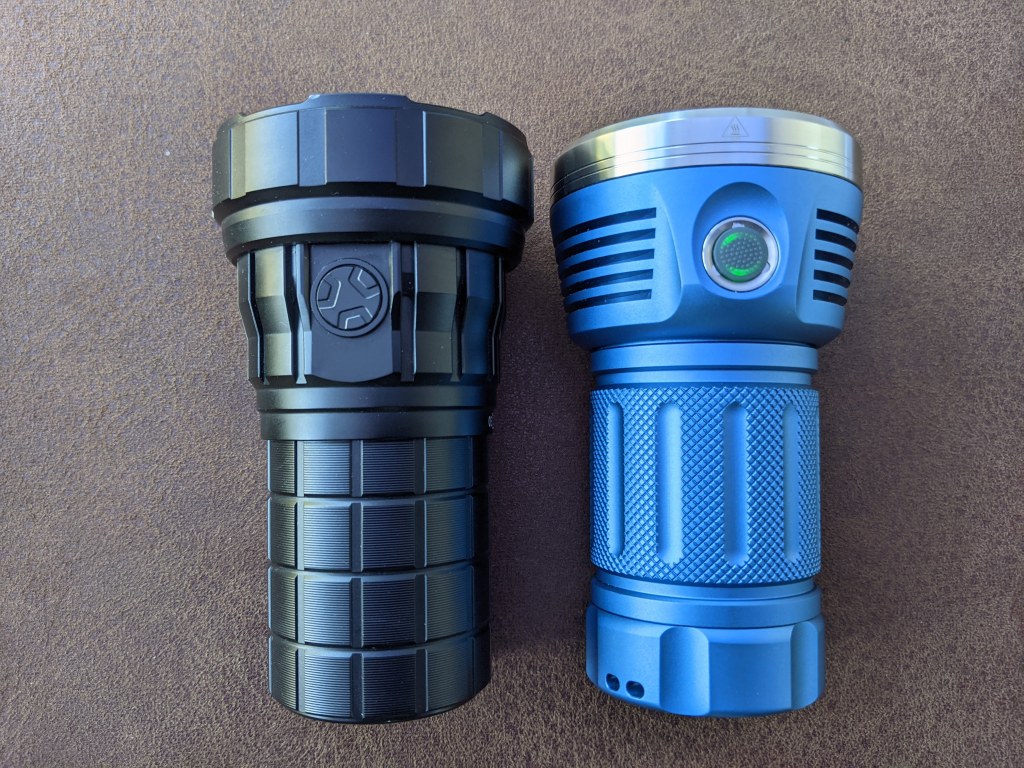
Having 4 cells makes the MF01S quite wide to hold. It’s not massive but it’s considerably more hefty than a Sofirn SP36. This means it will easily tail stand. The main body of the light has knurling, which makes it easier to grip.
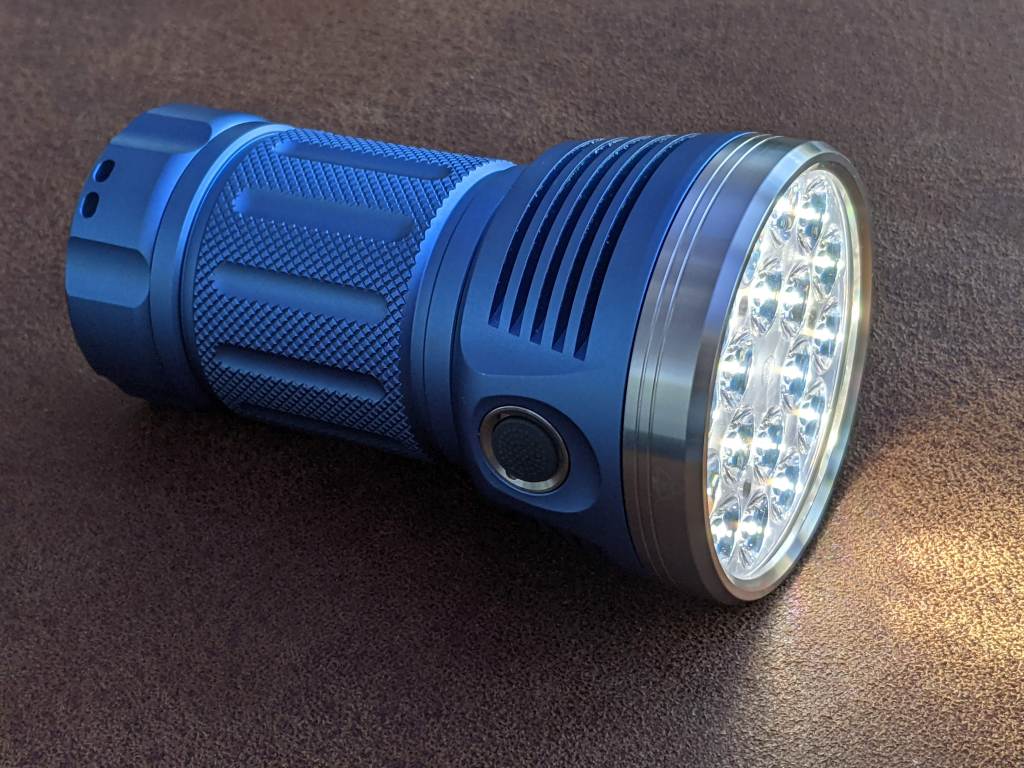
The head is big too. It has to be to fit the 18 LEDs, each one behind a TIR optic. The head has very deep fins for heat dissipation.


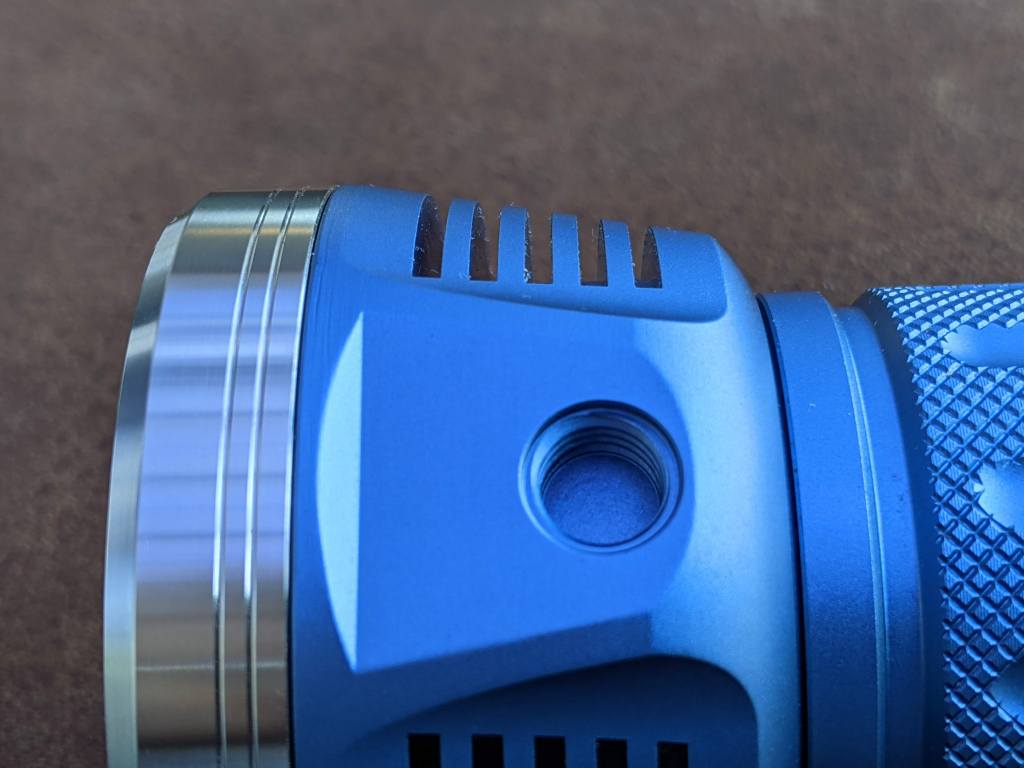

The MF01S has a side switch that lights up, stainless steel bezel and attachment point for the lanyard.
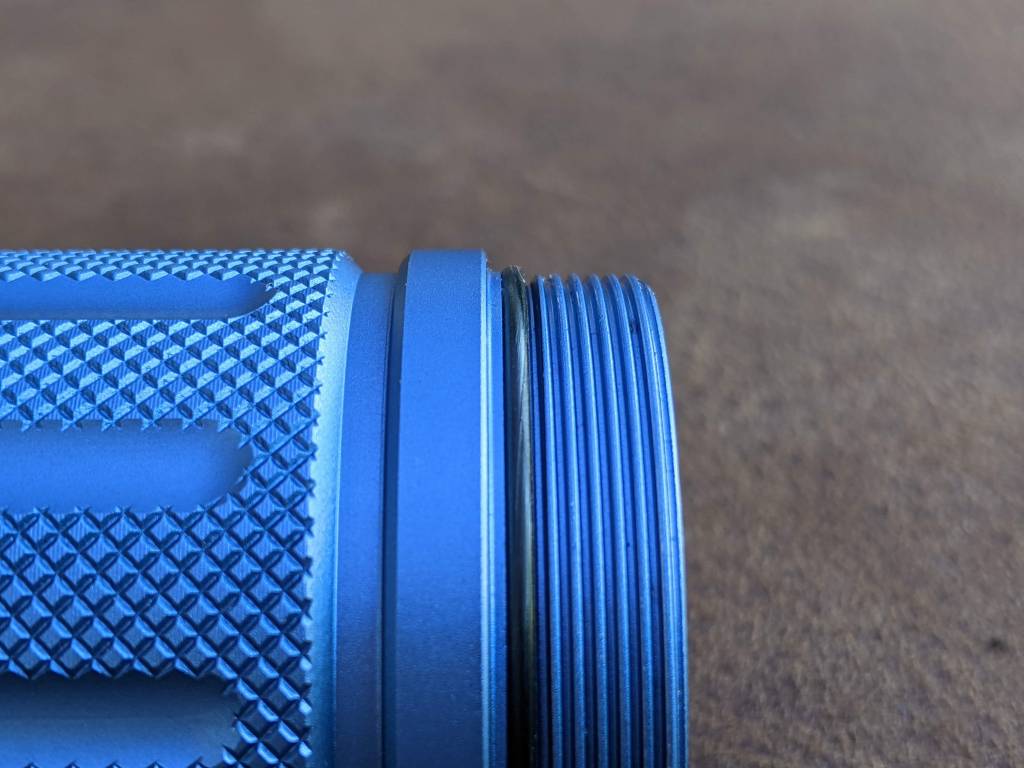
Opening it up, the threads are very smooth and have sufficient lubrication.
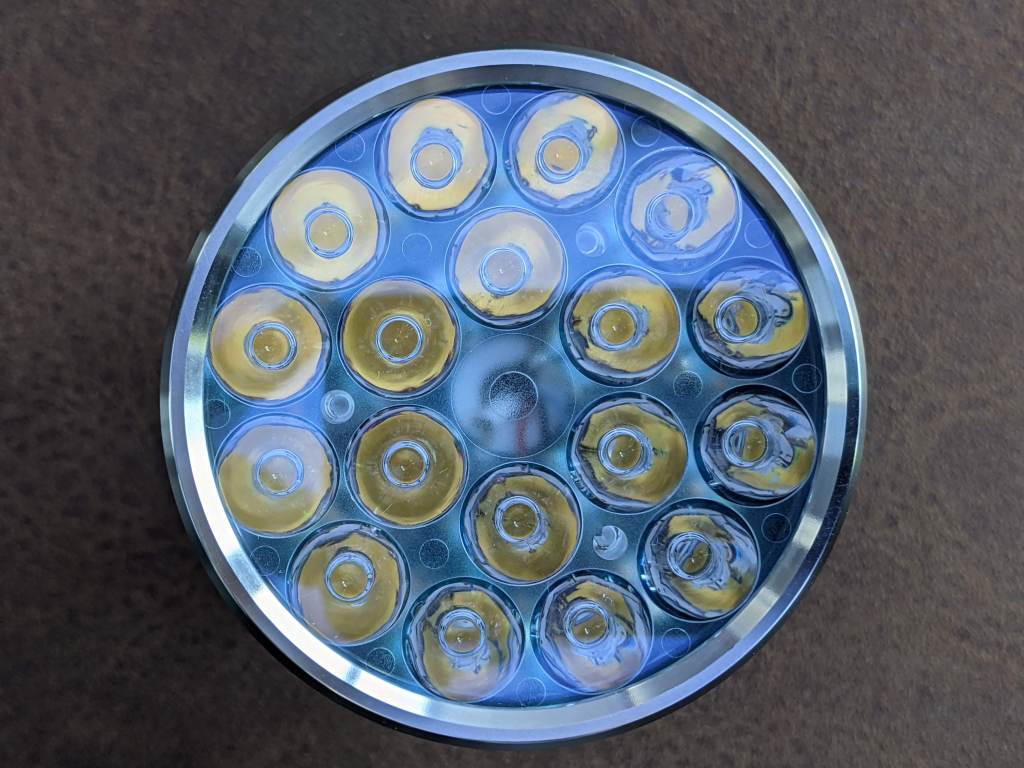
The Led, lens, bezel and reflector
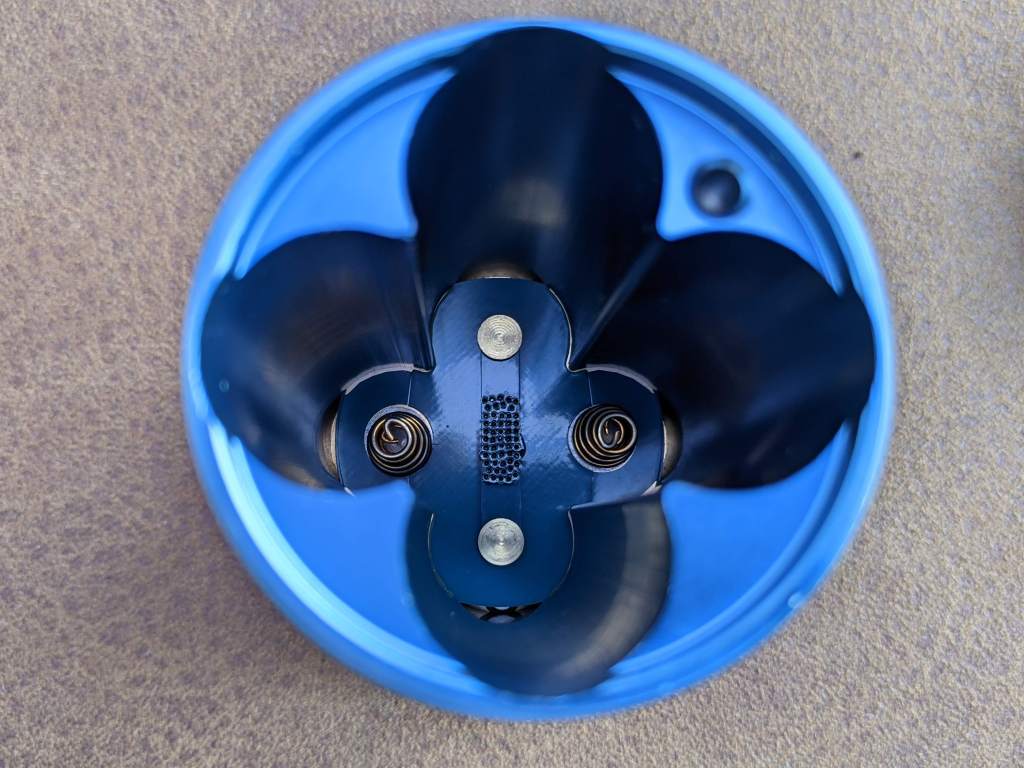
The 18 LEDs and TIR optics are the main showpiece of the MF01S. There aren’t many other lights with this many LEDs – only the Emisar D18 comes to mind.
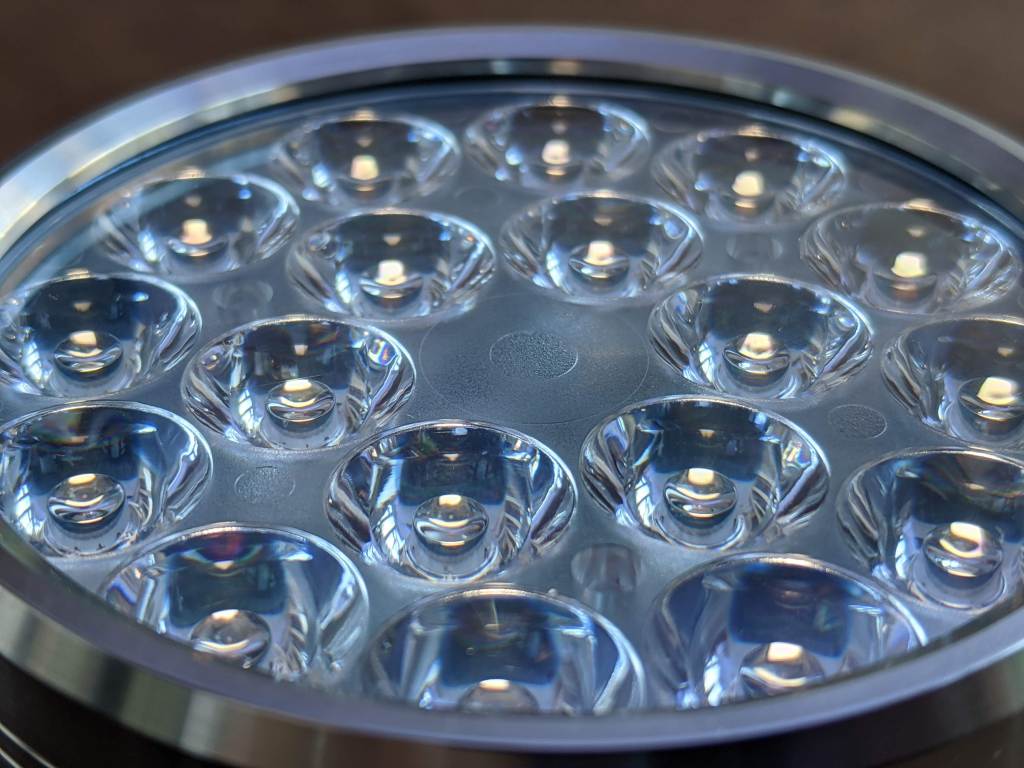
Having so many LEDs means that each one doesn’t need to be driven so hard. In theory, the MF01S will output more light at a given current than a light with 8 or 12 LEDs.
Mine came with Luminus SST20 LEDs. These are 3535 size LEDs with a forward voltage around 3V. In theory you could swap these for CREE XP-L or Osram W2 LEDs for more throw.
Using TIR optics instead of a traditional reflector means the light can be shorter. It also means the transition from spot to flood is smoother. This is a much nicer beam pattern than you get with multi reflector lights, like the Astrolux FT02S.


Astrolux offer the light with 4000K (warm white), 5000K (neutral white) and 6500K (cool white). The cooler CCTs will be a little brighter than the warmer ones but not very noticeably.
As for tint, the SST20 LEDs seem to be very slightly on the green side (above the black body line) but not significantly. This will vary from batch to batch.

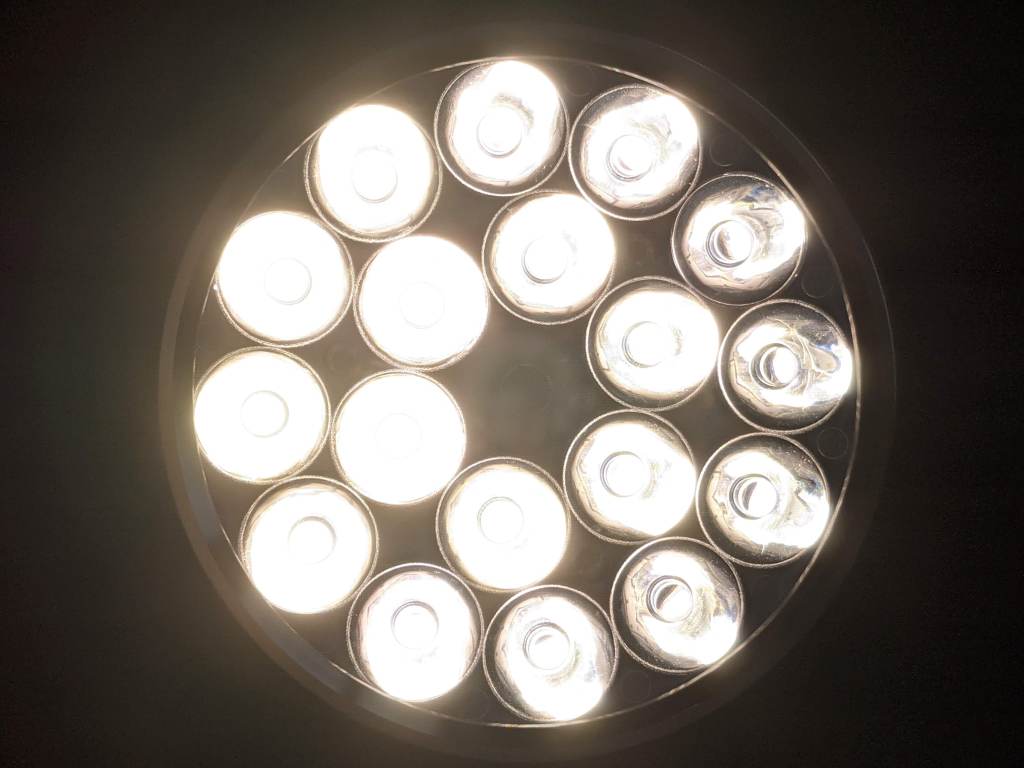
Astrolux lists these as having a CRI of 95. This is pretty high and means that colours shouldn’t look washed out.
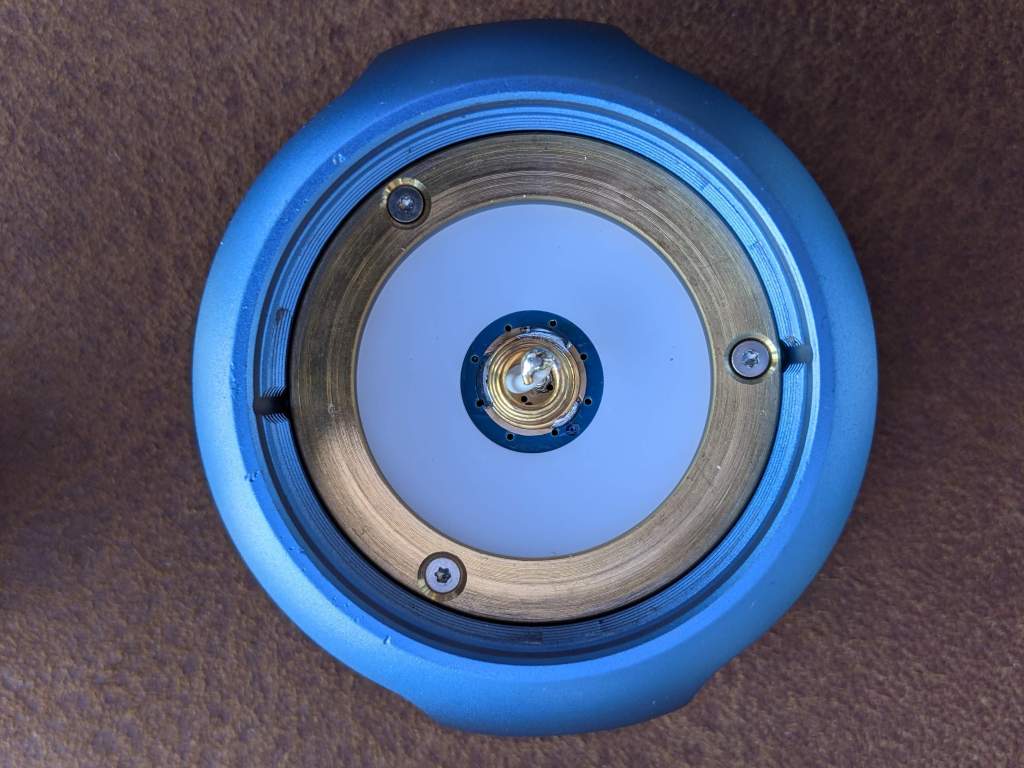
The TIR optics sit behind a glass lens and a very nice stainless steel bezel. This will give the light a bit of extra protection over an aluminium bezel.
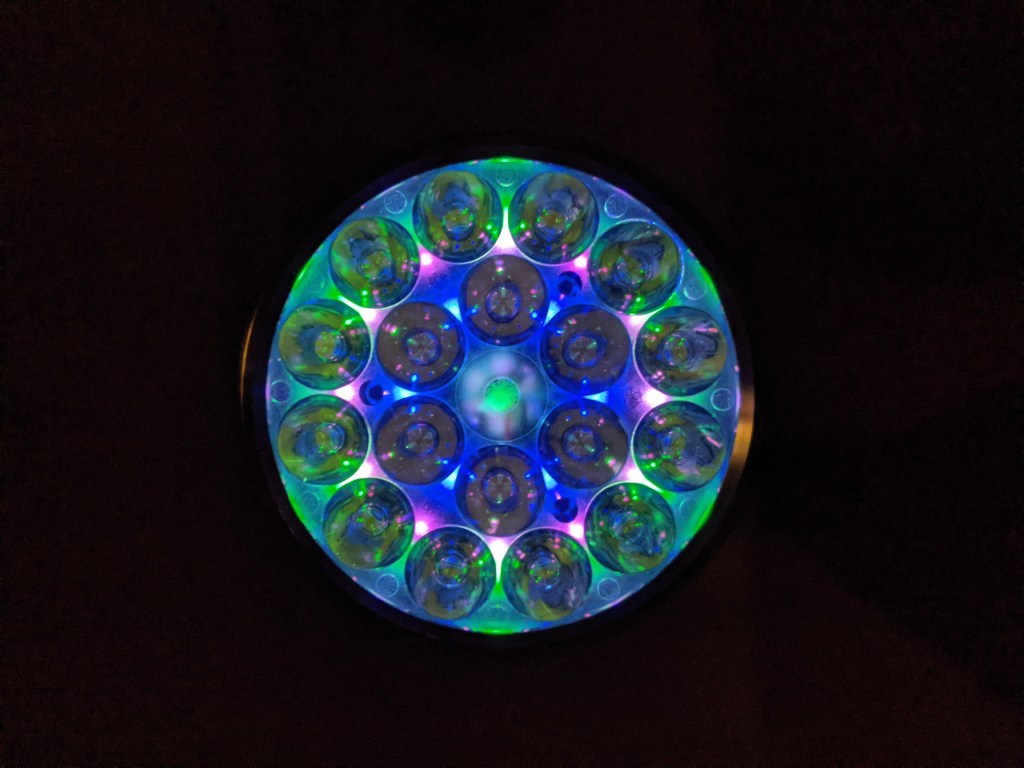
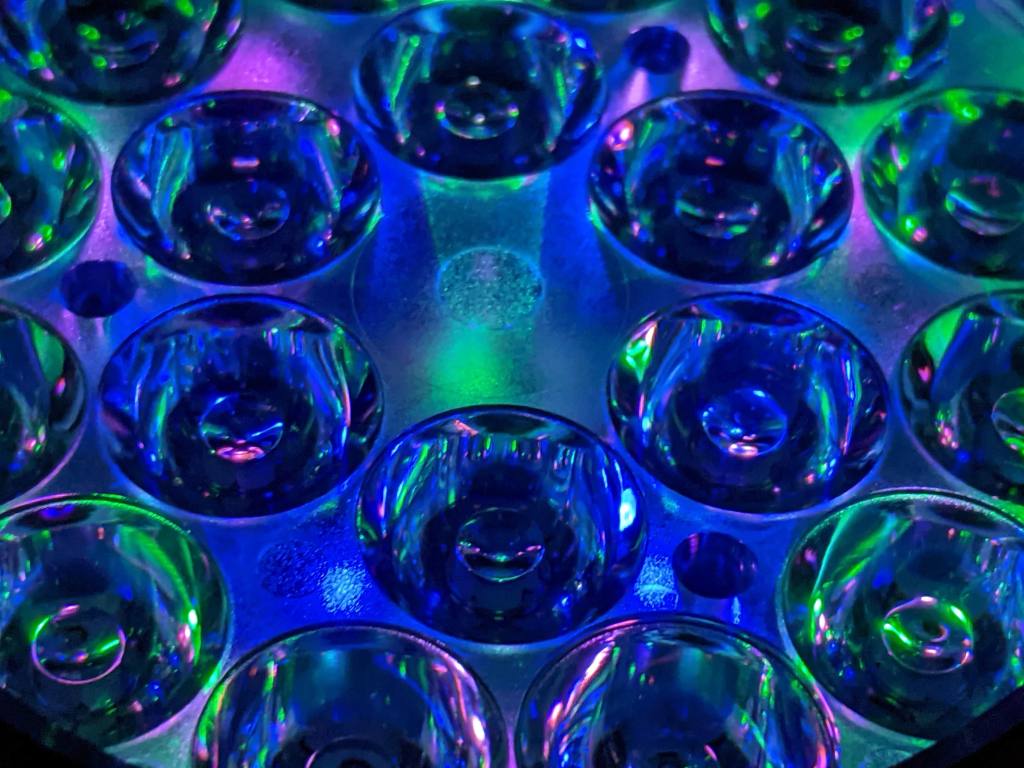
Aux lights
The auxiliary lights get a special mention. These are dim cyan, magenta and green LEDs that glow when the light is off.


Size, weight and comparison
Length:
- Length: 122mm
- Head diameter: 72mm
- Body diameter: 54mm
Weight:
- Without cells: 507g
- With cells: 693g
Comparison
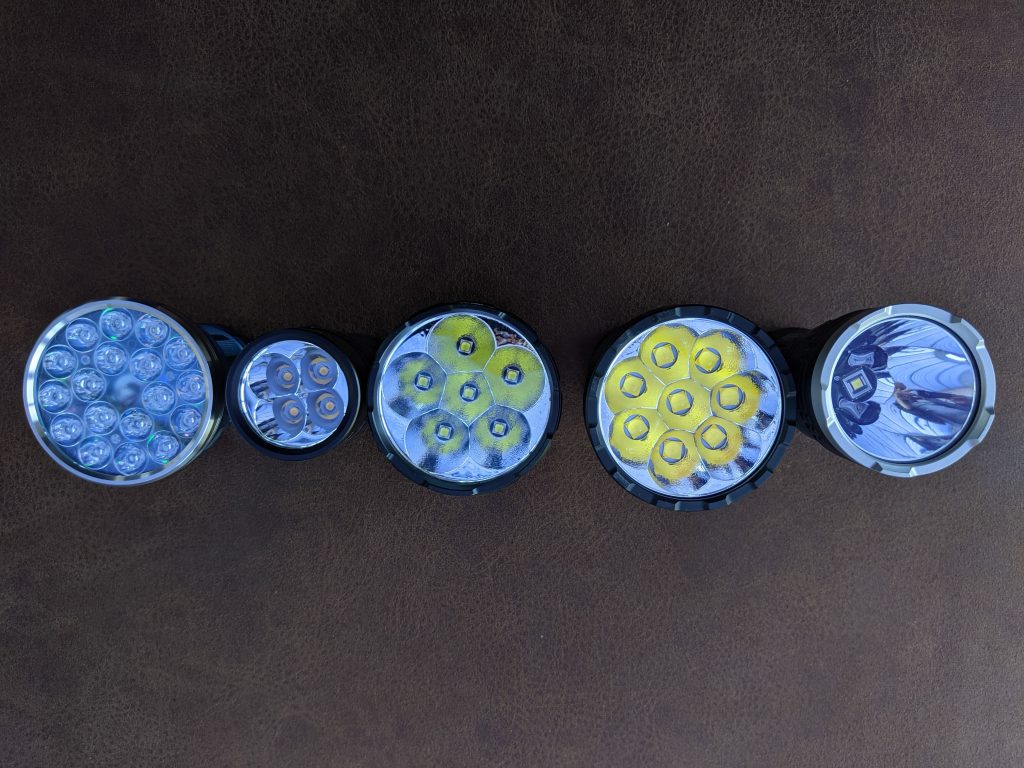
Soda can flashlights from left to right:
- Acebeam K30-GT
- Acebeam X50
- Imalent R60C
- Sofirn SP36
- Astrolux MF01S


Astrolux MF01S vs Imalent R60C, Sofirn SP36, Acebeam X50
Imalent R60C 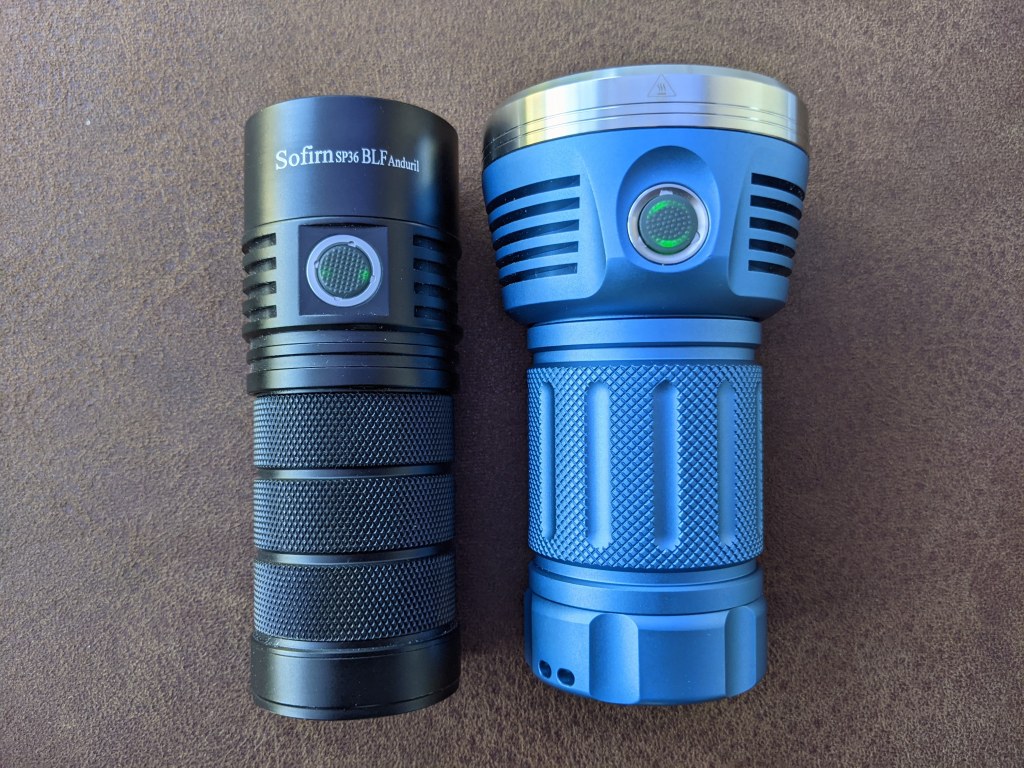
Sofirn SP36 
Acebeam X50
User Interface and Driver
Click on, click off, hold to change brightness.
The MF01S comes with the Anduril UI. The basics of this are very easy to learn but it also includes all sorts of advanced features. Once you’ve mastered the basics then it’s worth reading through the manual to see what it can do.
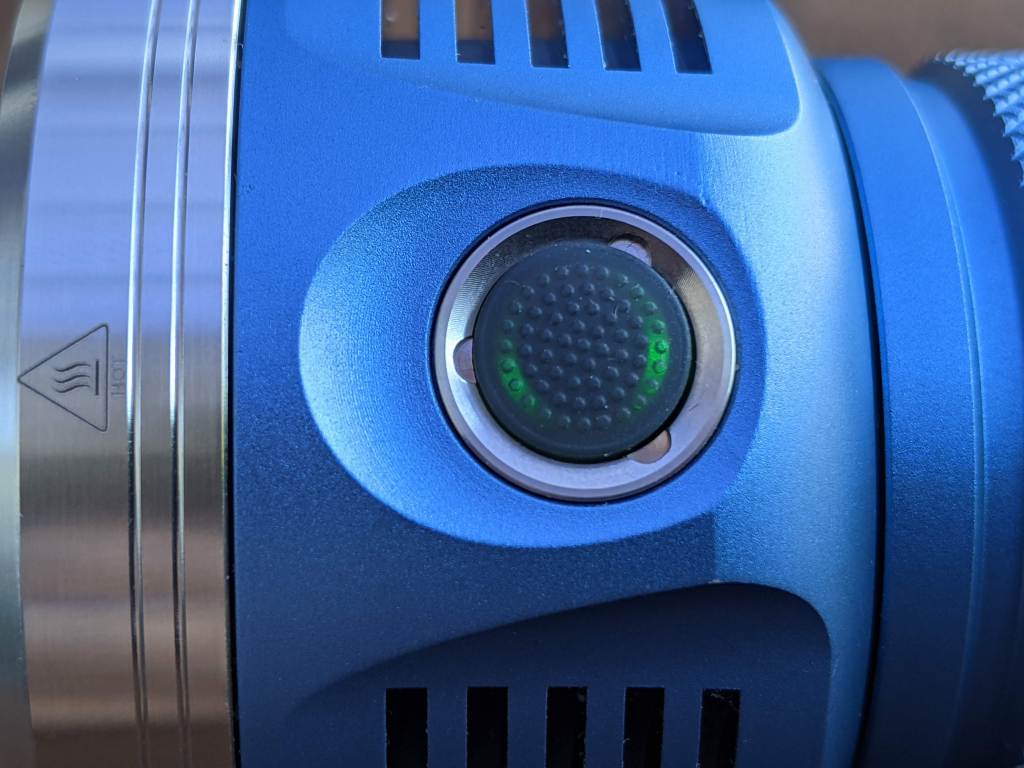
The side e-switch lights up (like the aux lights) but can be turned off.
Batteries and charging
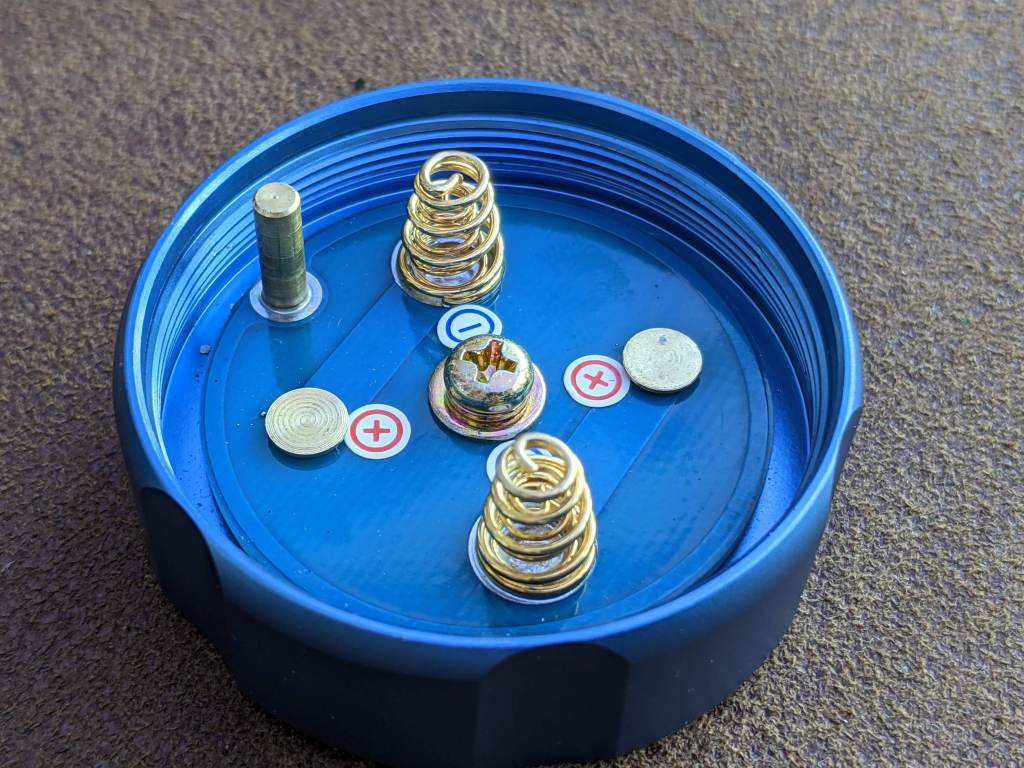
The MF01S takes 4 18650 cells. For full output it really needs high drain cells, 15A or more. The highest set of 4 cells I had were only rated to 10A, so you should be able to get higher output numbers than I have. The 4 cells slot in: 2 up and 2 down.


The light doesn’t come with USB charging, so you’ll need your own cell charger, such as the Astrolux VC04 battery charger (use discount code BGVC04NZ for 26% off).
Astrolux MF01S Performance
As with nearly all lights these days, the MF01S steps down in brightness after a few seconds so it doesn’t get too hot. I found that by default the light was stepping down very quickly, barely getting warm at all. Fortunately the Anduril UI makes this configurable.
The light is advertised as having a constant current driver but my guess is that the MF01S uses a FET+1 driver. That means that at most levels it’s not incredibly efficient. There’s lots of mass to absorb the heat but the light still won’t sustain as much as a slightly smaller light with a fully regulated driver.
Lumen and throw measurements
As mentioned above, the MF01S benefits from higher drain cells than I have at the moment (I’ll update this review when I get some better cells). The 6500K LEDs would also give more output than the 4000K.
All lumen measurements are from my home made integrating sphere, calibrated with a S2+ measured by Maukka. Measurements are done with a UNI-T UT383S lux meter and Adafruit TSL2591 connected to a Raspberry Pi (using RuTiTe by bmengineer). Expect them to be within +/-10%.
Measurements were taken using the stepped mode, with throw at 10m.
| Mode | Lumens (0s) | Lumens (30s) | Throw (m) | Intensity (cd) |
| 1 | 53 | |||
| 2 | 166 | |||
| 3 | 407 | |||
| 4 | 943 | |||
| 5 | 1791 | |||
| 6 | 3477 | |||
| 7 | 6374 | 370m | 34,267 | |
| Turbo | 9911 | 9128 | 566m | 80,210 |
Note: you should get higher turbo numbers with better cells.
Astrolux MF01S Runtime
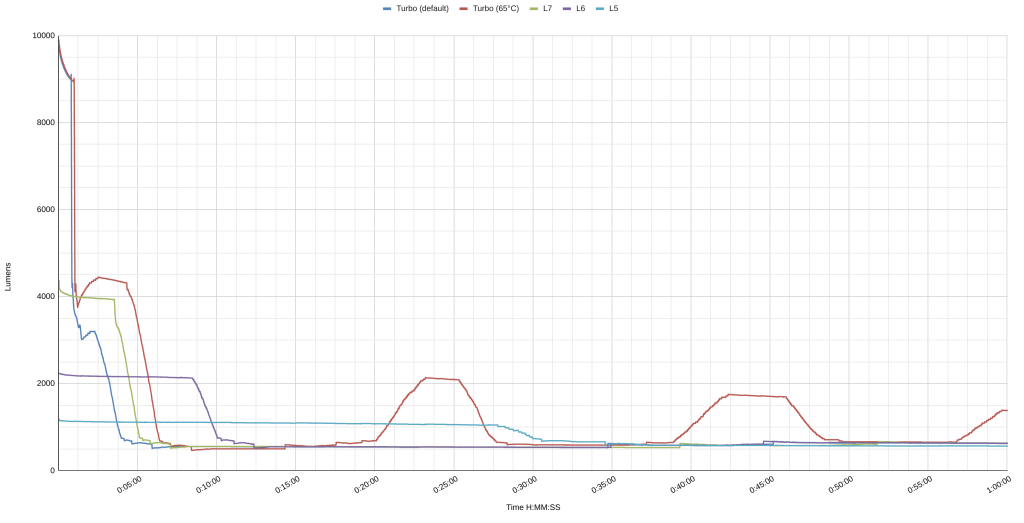
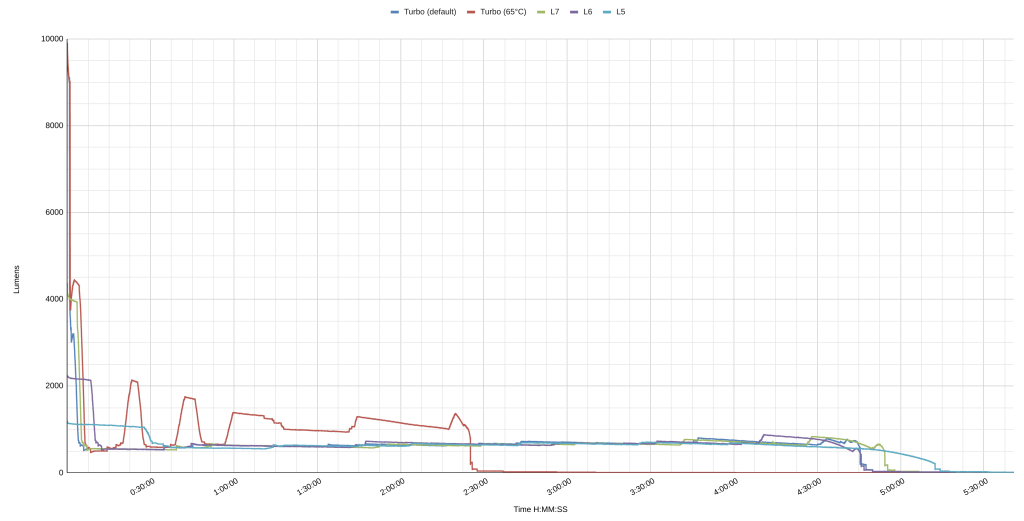
I did run times with the thermal calibration set to the default to start with. You can see the output drops very quickly to around 600 lm. In fact in any of the high modes, the light seems to eventually stabilize around 600 lm.
I set the limit to 65°C (see my Anduril how to guide for temperature calibration) and did the turbo test again. At this temperature it’s too hot to hold near the head but is just about OK if holding near the tail. I’d recommend setting the limit to something closer to 50 or 55°C unless you’re wearing gloves. Here you can see the output is sustained much better, around 4000 lumens for 5 minutes, then dropping to around 1000 lm. The firmware doesn’t seem to be well designed for the light though, as the drop down oversteps the sustainable level and zigzags a bit. This looks significant on the graph but isn’t so noticeable when using it outside.
With the thermal limit higher, the sustained output is about twice as high and the runtime on turbo is half the length.

Astrolux MF01S First 10 minutes
Pros and Cons
What I liked
- Lots of light output
- Choice of LED, including warm white and high CRI
- Pretty aux lights
- Price
What could be improved
If I could improve the MF01S, the one thing I’d do is use a fully regulated driver for better sustained output. This would add to the complexity of the light, possibly requiring it to be a couple of mm longer to fit the driver. Astrolux should also set the thermal calibration for a better out the box experience – or at least have a bit of paper recommending people do that.
Having Anduril on the light but the version seems to be quite old, missing some of the latest features light auto lockout.
Conclusion
I really like the MF01S. It’s incredible on turbo and the aux lights look better than on any other flashlight. It’s also great value for a light with this much output and has impressive run time.
If you get one (buy from Banggood), make sure to adjust the thermal config so you get the most from the light.
Thanks to Banggood for providing the light for review.
